After 17 years as a Paper Crafter, it still surprises me how excited I can get over a new acquisition! I truly love collecting all the goodies associated with Card Making and Mixed Media. Unfortunately, that means I’m somewhat of a hoarder! I have vowed to begin using all of the great stuff that I’ve been accumulating. So…I dug out my new leaf die with the matching embossing folder for this Jungle themed Card.

Originally, I began creating this for a Card Swap I’m in where I’m supposed to make something that includes an item I “collect.” I’m not a collector of anything really – except Paper Crafting Supplies! LOL But…my house sure does have a lot of animals and animal prints – especially elephants. To represent that, I used TH’s Ticket Die to cut out a strip of tickets. I stamped an elephant collaged stamp in Black Archival Ink and colored it in. Glass Beads were used on top to decorate the ticket.

- To create the background, add Distress Stains to a Craft Sheet, spritz with water and drag Manila Card Stock through the ink and heat set. (Do a few at a time so you have extras!)
- Next, sponge the same color Distress Inks over the card stock and spritz with water to create droplets. Heat Set.
- Add Walnut Stain Distress Ink to the edges of the post cards using a Mini Blending Tool.

- Apply Vintage Photo Distress Ink through TH’s Crocodile Stencil using a Mini Blending Tool.
- Apply Gold Embossing Paste through the Burlap Stencil and immediately clean the stencil. Allow to dry or heat set.

- The background for the leaves was created using an Archival Ink/Alcohol Technique where you put drops onto a Craft Sheet, pour Alcohol over them, mix a little with a spatula and then pick the ink up with Specialty Stamping Paper.
- Use a Heat Tool to move the inks around. The alcohol will burn off and create the most amazing backgrounds. No two are alike!
- Once you die cut the leaves from your alcohol backgrounds, sponge over them with Distress Inks and sponge the edges with Walnut Stain Distress Ink.
- Attach to each other with Glue Dots and then tie Jute String around the stems.
- Apply Distress Stains to a Craft Sheet to dye Crinkle Ribbon and attach to the post card, securing behind with Glue Dots.

- Stamp a Script Background Stamp in Black Archival Ink randomly onto your background.
- Sponge a die cut and attach to the bottom of your post card.
- Apply Chit Chat Stickers, draw around stickers using a Black Distress Marker and smudge them a little .

- Attach Idea-ology Mini Corners to two corners of the post card.
- Attach the leaves to the post card with Stampin’ Dimensionals.
- Attach the ticket to the card front with Stampin’ Dimensionals and an Idea-ology Paper Clip.
- Attach the post card to a 5-1/2″ x 8-1/2″ Chocolate Chip Card that is scored and folded at 4-1/4″.
Here’s an alternate card that was created by using one of the extra backgrounds. It’s very similar.

I love the way the cards turned out but I totally TRASHED my desk while creating them! LOL!

Here’s another look at the Hope and Courage Card. You can see all of the delicious texture!

Challenges:
Simon Says Stamp – Wednesday – Stencil It
Inspiration Emporium – Embossing Paste
Mixed Media Mojo – Tic/Tac/Toe – (Ribbon, Alcohol Ink, Stamp)
Addicted to Stamps – Anything Goes


 I love how the leaf turned out with all the shimmer and texture. It’s Vintage and Distressed without being too Grungy.
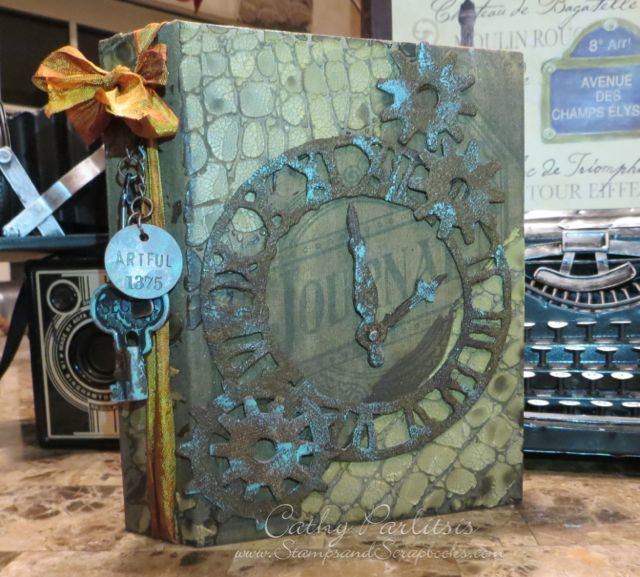
 This Tag is my Second Attempt at Tim’s November Tag and was created in much the same way as my first version except I intentionally tried to stay brighter with the base tag so the leaf would show through better and reigned my inner grunginess in a bit.

 I applied Glue and Seal (love it!) to the back of the corrugated cut out and layered it over the tag matching up the leaves. I put an acrylic block over it for a couple of minutes to dry. Once it was dry, I trimmed around the edges of the Tag and saved those delicious Distressed pieces for another day! I sponged Black Soot Distress Ink around the edges of the Tag with a Mini Blending Tool.
 I dyed Crinkle Ribbon with Spiced Marmalade, Mustard Seed and Mowed Lawn Distress Stains and pulled it through the hole in the tag. Before I tied it, I slipped an Idea-Ology Pin over it and attached an Idea-ology Token to the pin and then pulled the ends through the loop to tie the ribbon. The bottom of the tag is embellished with a Black and Cream Ribbon from TH Trimmings threaded through an Idea-ology Buckle and secured it with a brad. I added an Arrow from Idea-ology Alpha Parts Framed.