For someone who doesn’t love Valentine’s Day, I sure am making a lot of Valentine cards. LOL For the Dazzling Diva Challenge, I’m back to Grunge with the Perfect Blend Stamp Set and lots of distressing! I haven’t done a Shaker Card in years so I put little Scarlet Red Craft Metal Hearts and Glitter into the coffee cup!

- The base card is SU!’s Chocolate Chip Card Stock cut 4 1/4″ x 11″ and scored at 5 1/2″.
- The Coffee Cup from SU!’s Perfect Blend Stamp Set was stamped onto the center of a 4″ x 5 1/4″ post card of Crumb Cake Card Stock.
- SU!’s Hearts Border Punch was used to punch a heart border along the bottom and top of the post card.
- Baked Brown Sugar Ink was sponged through TH’s Splatter Stencil.
- Real Red Ink was sponged through TCW’s Antiquities Stencil.
- Crumb Cake Ink was sponged through TH’s Burlap Stencil.

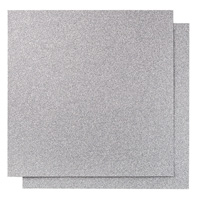
- A strip of Scarlet Red Craft Metal was adhered along the top and bottom of another 4″ x 5 1/4″ piece of Crumb Cake Card Stock.
- Early Espresso Ink was sponged onto the edges of the Crumb Cake Card Stock.
- To create the Shaker, cut out the center of the coffee cup and adhere a Window Sheet behind it.
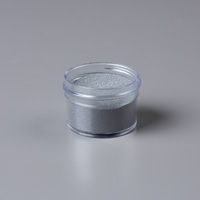
- Adhere Foam Tape around the perimeter of the opening and add Rock Candy Distress Glitter and Scarlet Red Craft Metal Hearts cut from SU!’s Confetti Hearts Border Punch into the center.
- Apply Stampin’ Dimensionals to the remainder of the other Crumb Cake Post Card and adhere together, trapping the hearts in between them.

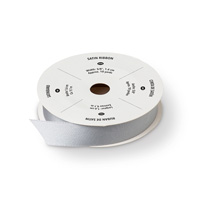
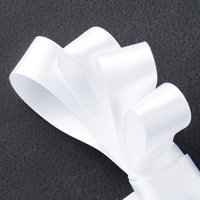
- Stretch Chocolate Chip Seam Binding across the front of the post card and adhere behind using Glue Dots.
- Tie a Double Bow using Chocolate Chip Seam Binding. See VIDEO HERE to Tie A Double Bow Using Your Fingers. Adhere to the card front with Glue Dots. Use Glue Dots to position the tails of your bow, if desired.
- Adhere the Crumb Cake post cards to the card front.
- Die Cut the word “Love” from Scarlet Red Craft Metal and adhere to the card front with Multipurpose Liquid Glue. (Tip: Put Wax Paper between the Die and the Metal for easy release.)

- Die cut the Key from TH’s Mini Lock and Key Die from Grunge Board. Apply Embossing Ink to the surface and emboss with Vintage Photo Distress Embossing Powder.
- Use your finger to apply Tarnished Brass Distress Stain to parts of the Key. Tie a piece of Jute through the hole and adhere to the card front with Glue Dots.
- Stamp another coffee cup in Black Archival Ink onto Whisper White Card Stock. Cut out the lid of the coffee cup and adhere over the lid on the cover with Stampin’ Dimensionals.
- Adhere a 4″ x 5 1/4″ piece of Very Vanilla Card Stock to the inside of the card.
- Apply a couple of Tarnished Brass Distress Stain Splatters onto the card.
Ahhhh….To Key or not to Key...that was the question again today. BUT…most of you said “definitely” to the addition of a key to yesterday’s card so I stuck one on this card as well. The photo below is how it looked before I adhered the Die Cut Key. Again, thanks so much for visiting and for sticking with me this far! If you’d like, you can Click Here to Join My Mailing List.

Challenges:
Craft Hoarder’s Anonymous – Choose Your Challenge – Grid (Ink, Seam Binding, Die Cutting/Stamping, Embossing, Bling (Glitter & Metal)
Simon Says Stamp – Monday – “H” – (Hearts)
Frilly & Funkie – Be My Valen-Twine – (Jute)
Dazzling Diva Challenge #61 – Inspirational Photo Below









 You still have time to sign up for the remainder of the


